Obsidian
In this guide, we explain how to set up the note-taking app Obsidian. Many apps can be set up similarly.
Unfortunately, we cannot support the use of such apps with further assistance.
Attention: Obsidian is not FOSS
Obsidian is not free open source and is therefore subject to the usual security risks and conflicts of interest that come with proprietary software.
The manufacturer itself lists open-source alternatives, and we also have a guide for Joplin.
Setup
The Vault Name
By default, the Vault name will later also be the folder name in Sciebo. This can lead to conflicts. For example, if the Vault name is set to “Notes”, the Obsidian notes will be saved in the directory that is also used by the Nextcloud notes app. Therefore, these notes are also available to the editor in the web interface under the notes app.
This behavior can be changed in the settings, but this function is still marked as experimental.
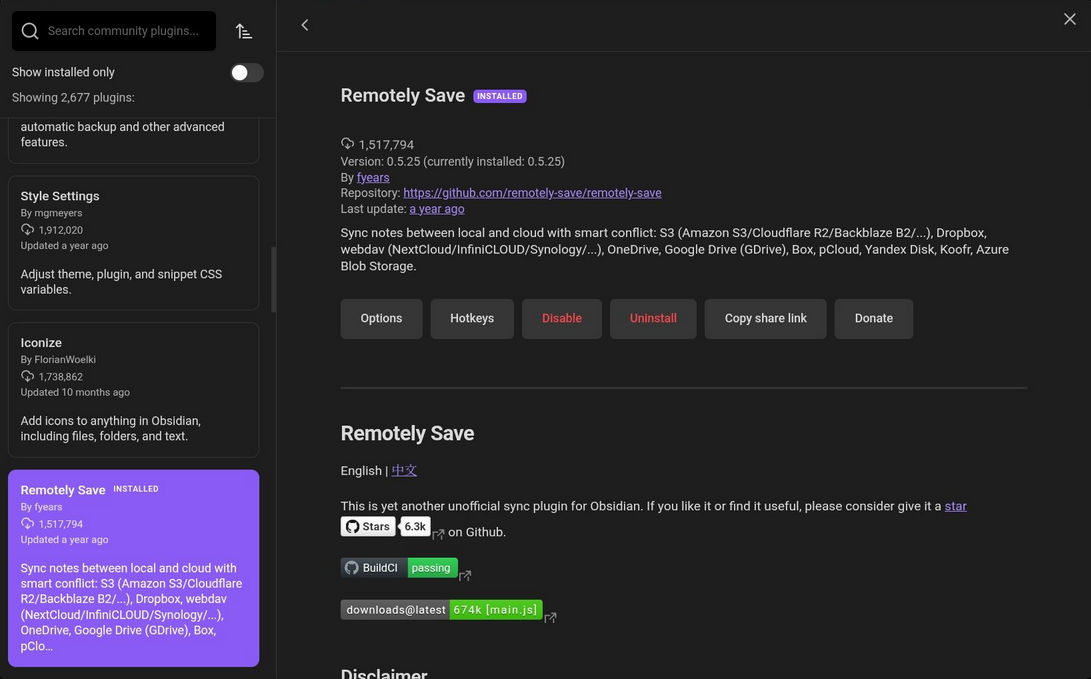
Install Community Plugin “Remotely Save”
First, community plugins need to be activated, and then the plugin “Remotely Save.”
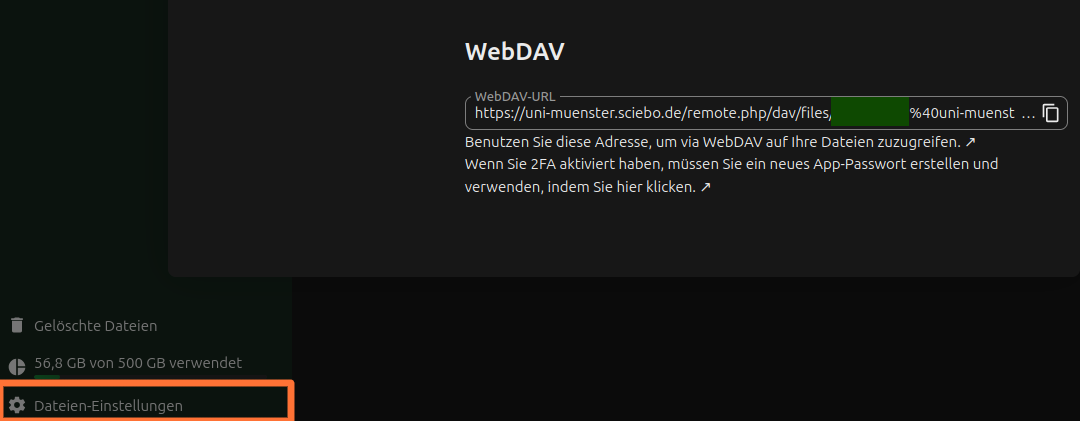
Find sciebo WebDAV Link
By clicking on “File Settings” at the bottom left of the sciebo web interface, a popup opens. There, you can copy the WebDAV address.
Generally, it has the format
https://instanzname.sciebo.de/remote.php/dav/files/kennung, where kennung is your sciebo identifier, with the @ replaced by %40.
Configure Obsidian
Finally, you need to configure Obsidian. Here, the WebDAV link from above must be entered under “Server Address.” The username and password are your regular sciebo identifier (here again with @) and your regular sciebo password.