This is the multi-page printable view of this section. Click here to print.
Howtos
1 - Create and manage project boxes
In this brief HOW-TO, we will take you through the steps of applying for a Project Box and setting it up so that you can actually work with the files stored in the Project Box using your private Sciebo account.
Apply for the project box
To request a project box, you must first submit the project box application in mysciebo. You will find the relevant field unter the heading Project boxes.
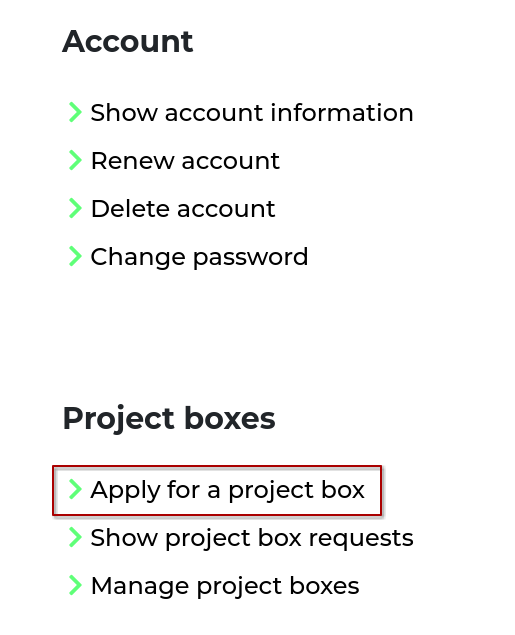
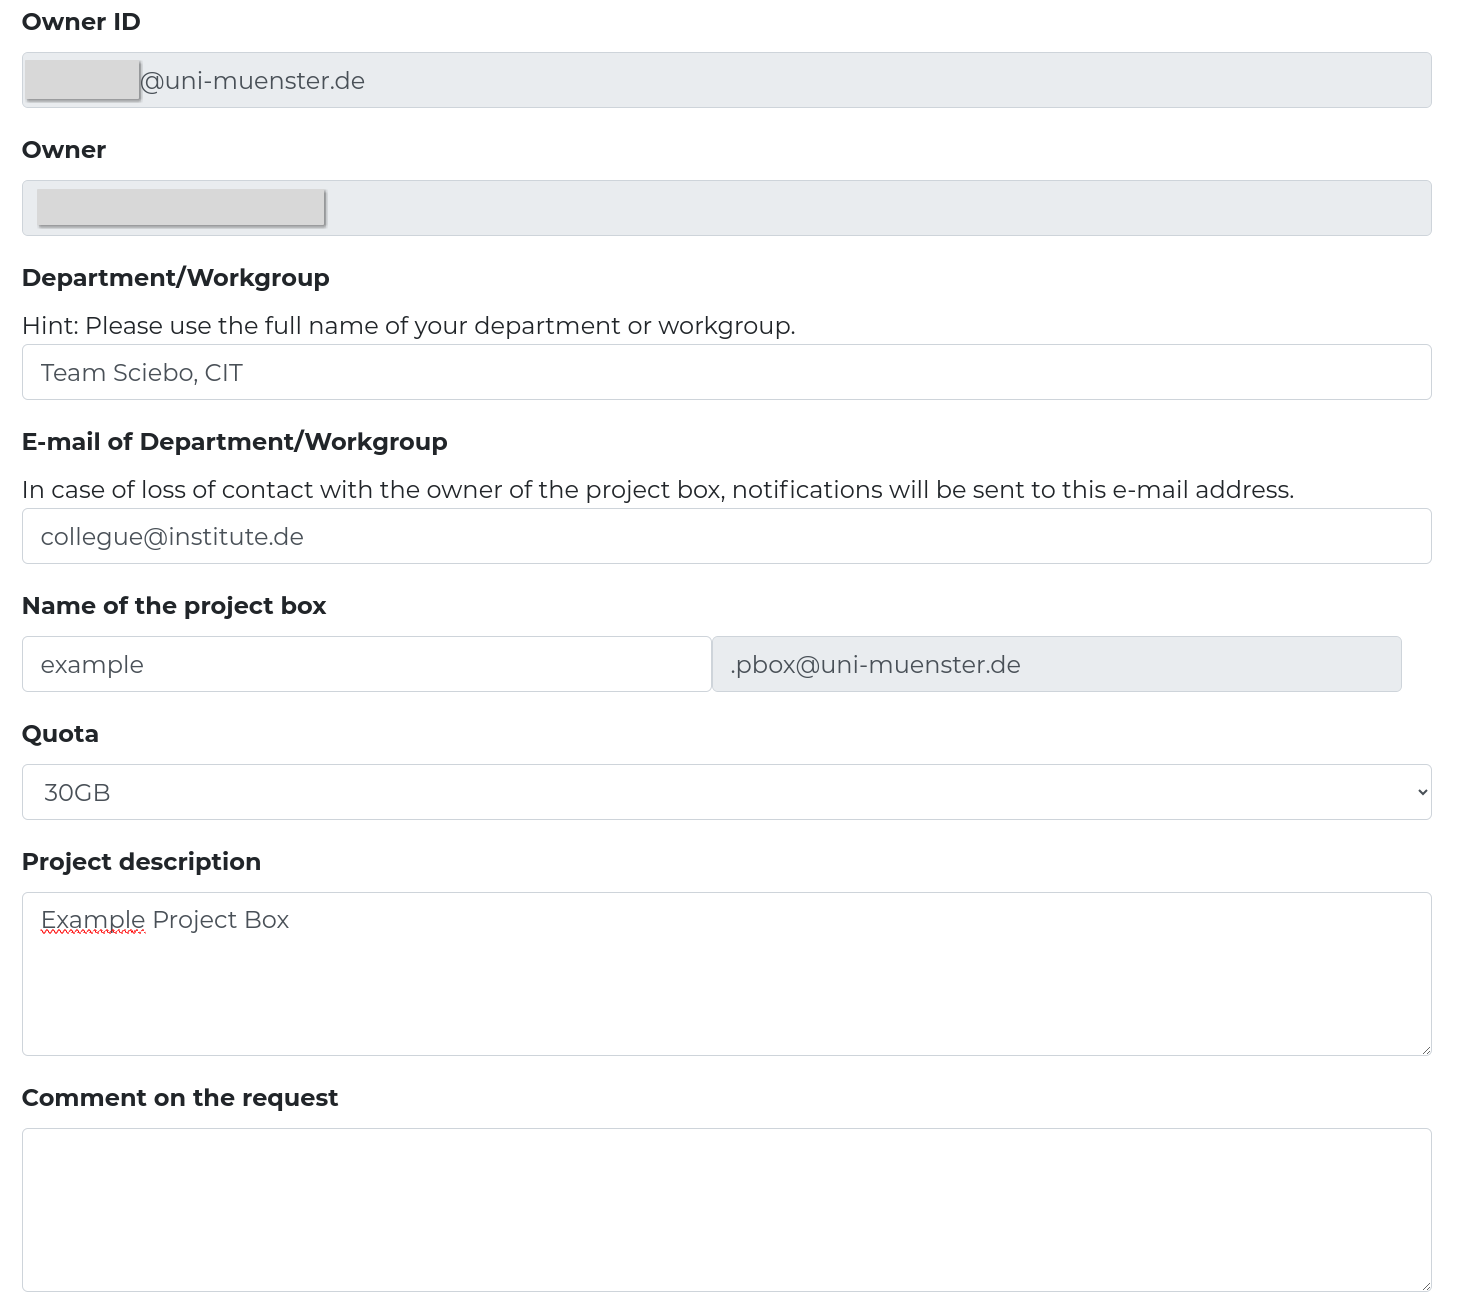
The form for the project box must be completed there; in the ‘Department/Workgroup’ field, please provide as precise a description as possible of the actual working group. Also enter the e-mail address of a person who can be contacted if you are unavailable in the “E-mail of Department/Workgroup” field. As the project box is not personalised, this makes it easier to reassign the data when you leave the university and the project box becomes orphaned.
Set up a password
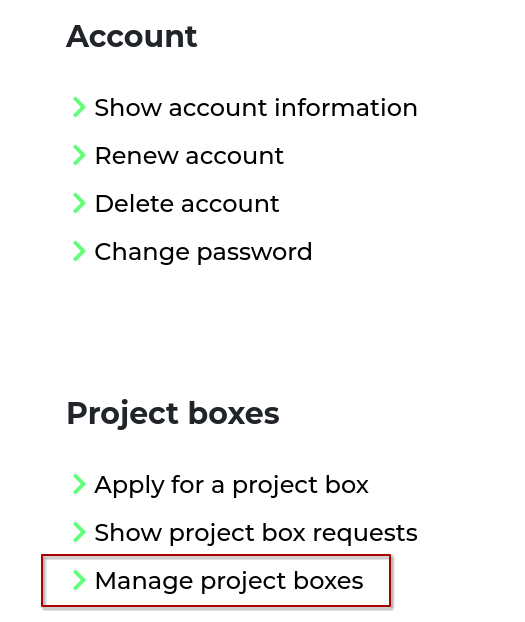
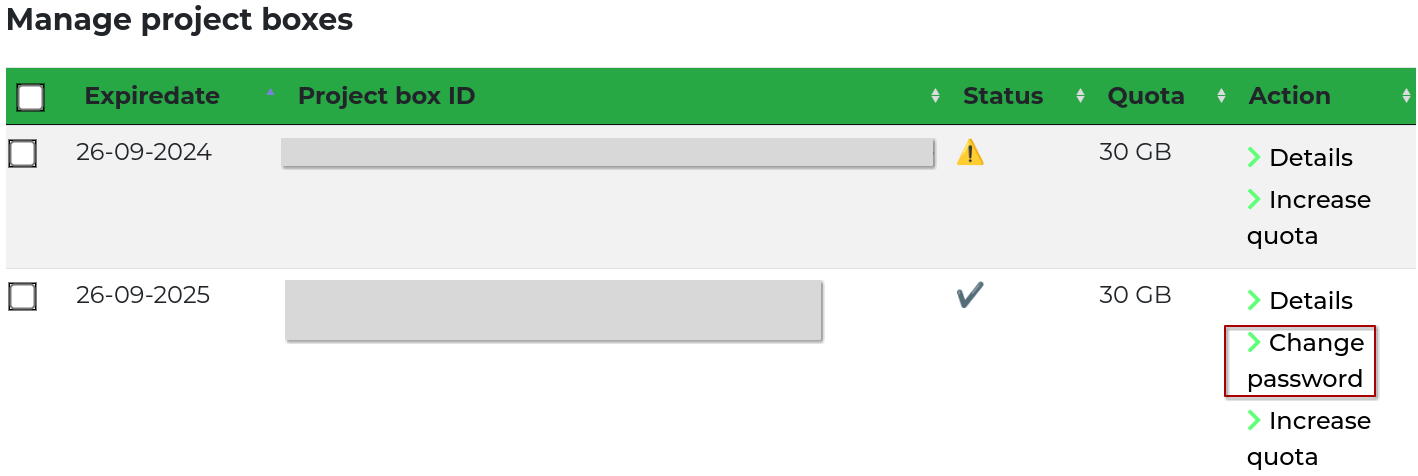
Once this request has been accepted, you can access the project box management menu in mysciebo by clicking on ‘Manage project boxes’:
Here you need to set a password for the project box.
Log in to the project box and set up shares
Now you can log in to your own Sciebo instance with this project box. For me, this is
https://uni-muenster.sciebo.de. Please note
the .pbox@institute at the end of the project box name, for example .pbox@uni-muenster.de for the University of Münster.
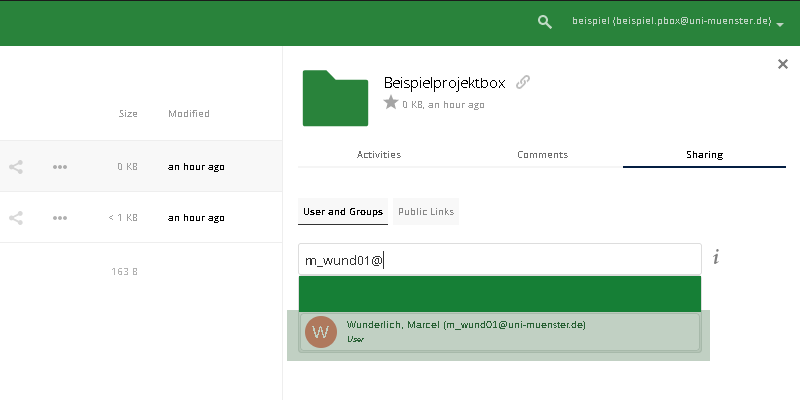
You can now set up a folder structure in the project box; it usually suffices to just have a folder, which you share with your personal Sciebo account:
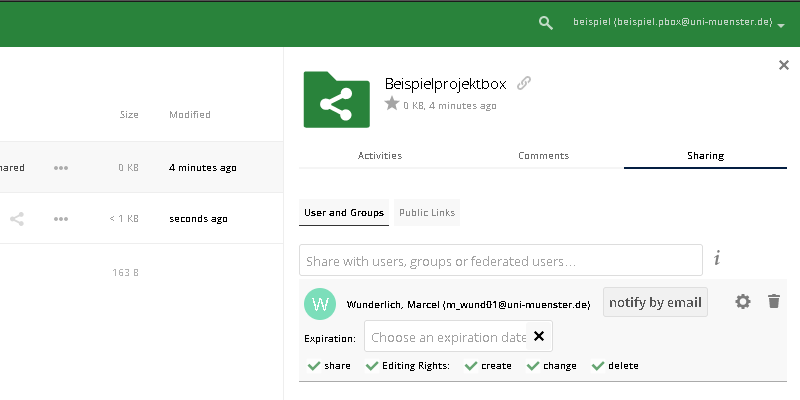
You can set the permissions by clicking on the cogwheel next to the share. By default, everything is allowed; this makes sense for your personal account, as it enables you to share this project box folder with other project partners without having to log into the project box again.
2 - Cryptnc
End-to-end encryption enables sensitive data to be transferred via the cloud without an administrator or third party being able to view the contents of the files on the server. Encryption and decryption is carried out by a client on the end device (computer, cell phone, tablet). The advantage of Nextcloud end-to-end encryption (E2EE) is that one can also share the encrypted folders without having to share the own key.
Prerequisite: an E2EE app must be activated on the server, original Nextcloud client version 3+.
Client configuration
Server address: https://cryptnc.uni-muenster.de
Credentials: standard university login and password.
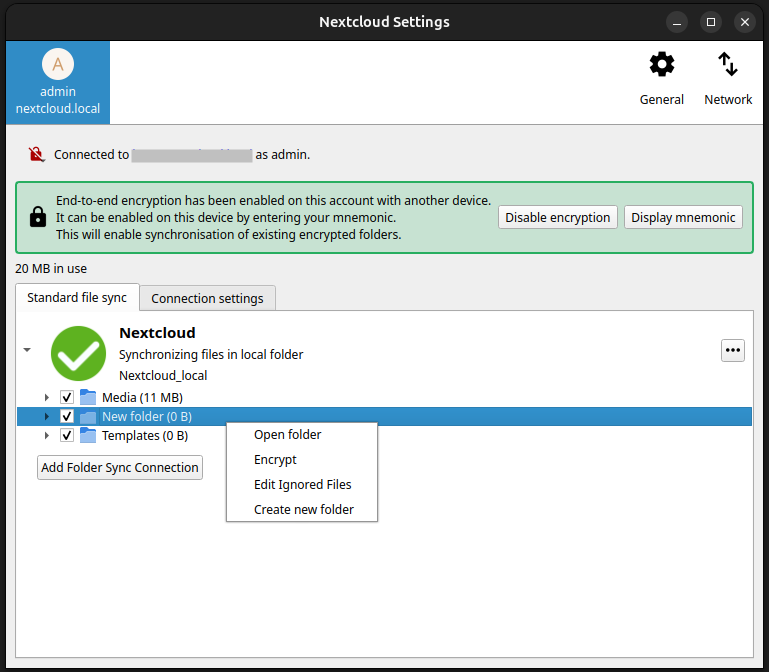
Check that the option “This account supports end-to-end encryption” is displayed in your client. Click on “Set-up encryption” to generate the encryption mnemonic.

Please save this phrase as you will need it to decrypt the files on other endpoints or to recover the files if the device is lost.
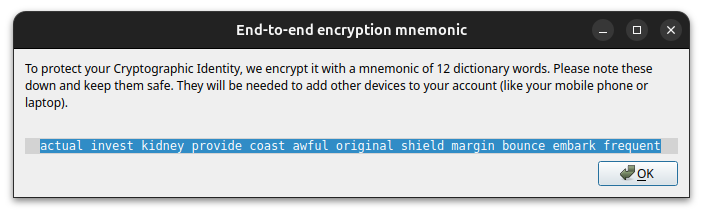
If you have already enabled encryption on the client, you can look up the mnemonic phrase by clicking ‘Show mnemonic’.
Creating the ecrypted folder
Notice: Keep a second copy of the files on your computer outside the nextcloud folder, this should also be where you edit the files. Use the encrypted folders to transfer files between different computers.
Try not to edit files inside the encrypted folder, as they may be irreversibly encrypted. There are methods to decrypt the files using the script provided by Nextcloud, but this method has not been tested yet, so we would rather advise you to do everything possible to avoid this risk.
Create the new folder. The folder must be empty to enable encryption. This is to prevent data loss. Any files placed in this folder will automatically be encrypted. The contents of this folder won’t be displayed in the web interface. On the server side, only the top level of files would be displayed in encrypted form. This way the admin won’t be able to see the data type. So, for example, if you put another folder in the encrypted folder, it would only be shown as a file, without any details about the files in it.
Sharing the ecrypted folder via Desktop Client
Activate the Nextcloud client and navigate to the Nextcloud folder on your computer.
Right-click on the folder you want to share. If the Nextcloud client is active, you should see Nextcloud in the menu.
Clicking on Nextcloud > Share options will open a window where you can add or remove shares for the chosen file or folder.