More information on downloading the client application can be found here!
The desktop client is a program that allows you to store your data from the cloud locally on your computer or laptop.
The client runs in the background and automatically synchronises your data so that you always have the latest version
of a file available on all devices.
After a successful download, open the installation file.
Confirm that you want to run the file by clicking on “OK”. The setup wizard appears.
Click on “Next” to make the installation settings.
If you do not want to install sciebo at the suggested location, select the folder for the installation now. Otherwise, click directly on “Next”.
Click on “Install.” You may have to confirm that the software may be installed on your PC. Sciebo will then be installed.
Click on “Finish” to close the setup wizard.
Finally, you will be asked whether you want to restart your PC immediately or later so that sciebo works properly. Select the desired option. After restarting, you can set up your folder synchronisation (see below).
After successful download give AppImage permission to run by opening the terminal and entering
chmod u+x Sciebo-Linux64-VERSION.
Start the client by typing ./Sciebo-Linux64-VERSION in the terminal. Configure the client. During the configuration,
the Client will be added into autoload and by next restart would start automatically.
Configuration
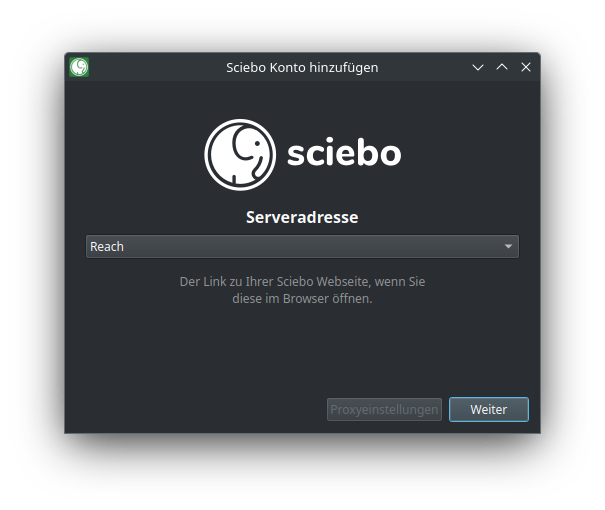
Open the client. The connection wizard appears.
Select your sciebo institution from the list.
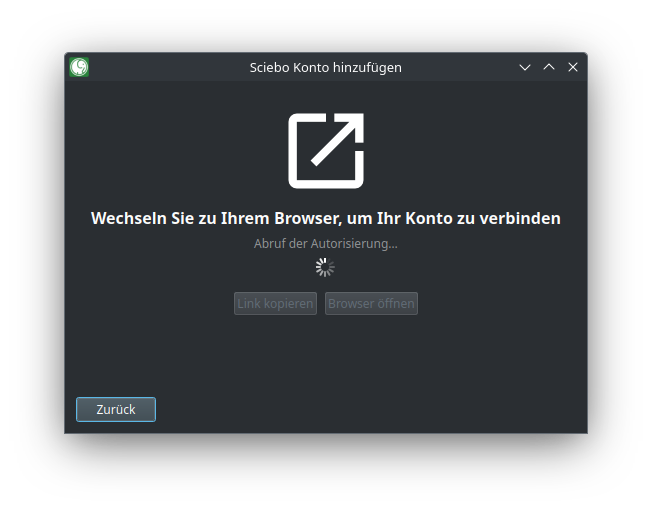
A browser will open and you will be asked to log in and allow the client to access your data.
By default, your entire sciebo directory is synchronised. For folders larger than 500 MB, you must manually confirm
synchronisation for the first time. However, you can also change the limit or deactivate this function. (If you do not want
to synchronise your entire sciebo directory, you can decide which subfolders are synchronised under “Select elements to be synchronised”).
Select a destination folder on your PC. (This folder will be synchronised with your sciebo directory, i.e. the data
you selected from sciebo will be saved here, and files and folders newly created in this folder will be uploaded to sciebo).
Click on “Connect…”
Hinweis
If you want to synchronize different subfolders with different destination
folders, start with the first subfolder. You can add additional folder synchronizations later via the client.
2 - Client Settings
Learn about the basic client settings.
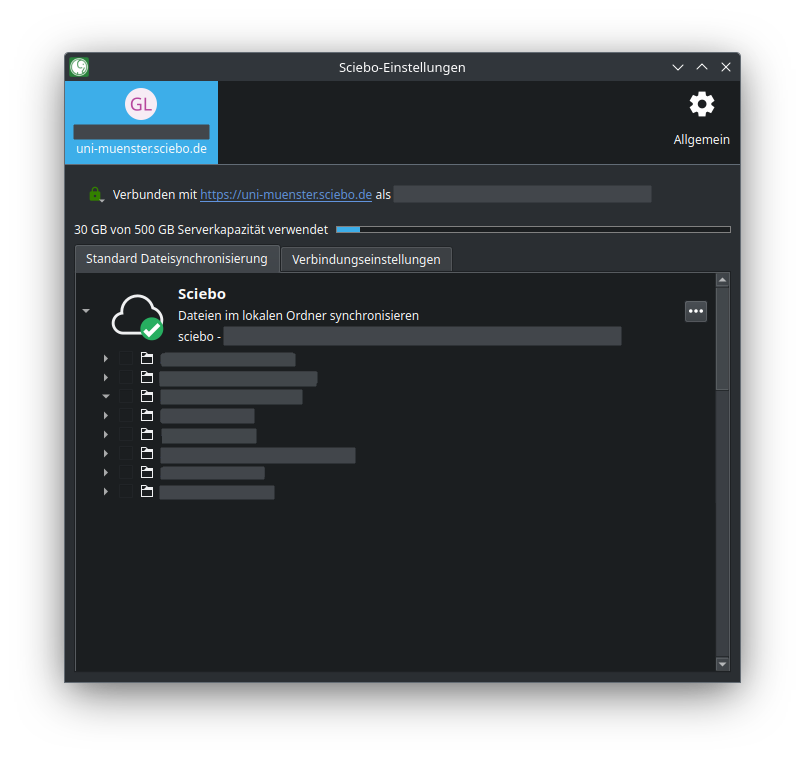
User Account
Under the tab with your sciebo ID, you will get an overview of
the storage space is available to you in sciebo and the share you already use,
all folder synchronisations (if you synchronise your entire sciebo folder with a single destination folder, you will only see a single folder synchronisation),
for each folder synchronisation, all folders and subfolders that are synchronised on your PC.
You can make synchronisation settings here.
Settings
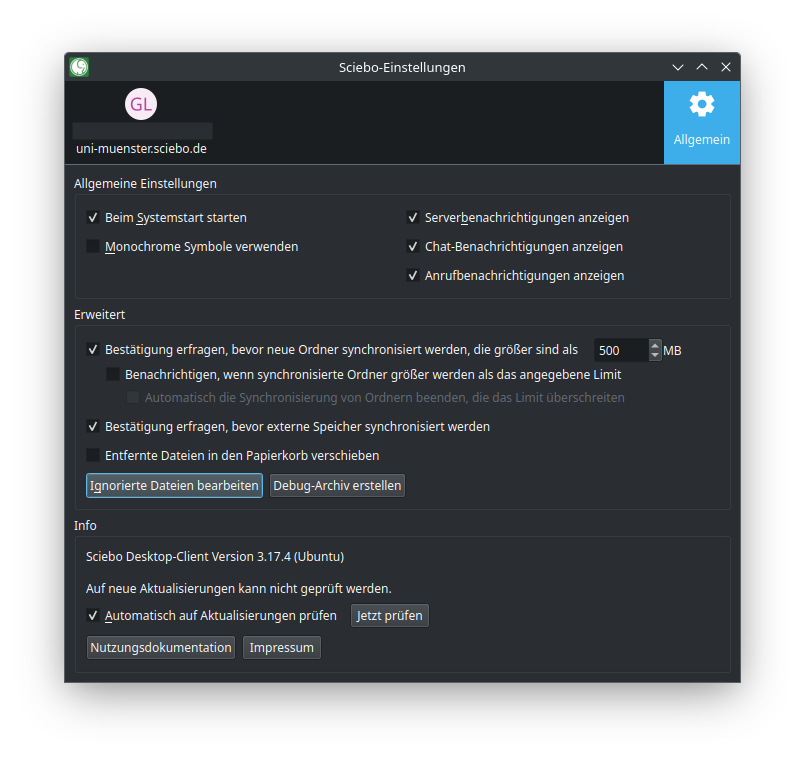
Under the “General” tab, the version of the sciebo client you are using is displayed. You can also specify.
whether the sciebo client should be started when you switch on your PC,
whether you want to receive desktop notifications,
whether the synchronisation of large folders has to be confirmed and if so, from which size limit,
whether synchronisation of external storage needs to be confirmed,
whether sciebo client should check if there are updates available.
3 - Share files and folders
Learn how to share files using sciebo client.
Sharing with Other Users
Open your local sciebo folder.
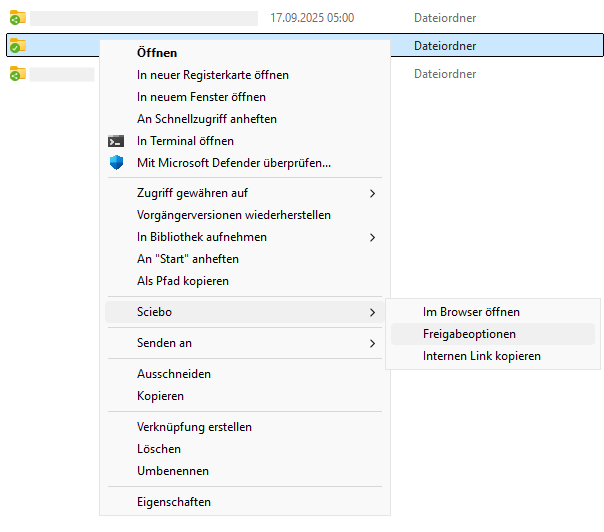
Open the context menu for the file or folder you want to share. Select “sciebo” and then “Share options”.
A new window opens. In the field “Search for users or groups”, enter the name of the desired user according to the scheme “last name, first name”.
Select the person from the list.
Determine which rights the person receives by clicking on […] near person/group name and setting or removing the corresponding ticks.
Close the menu.
You can check at any time with which persons and groups a file or folder has been shared by calling up the share menu
again. There you will find a corresponding list where you can manage editing rights and delete shares.
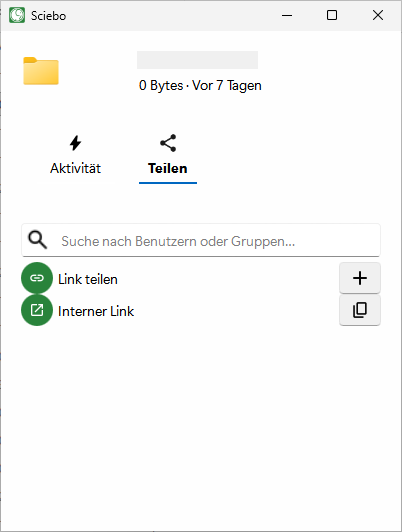
Sharing by Link
Open your local sciebo folder.
Open the context menu for the file or folder you want to share. Select “sciebo” and then “Share options”.
The share menu opens in a new window. Click the plus sign near “Share Link”.
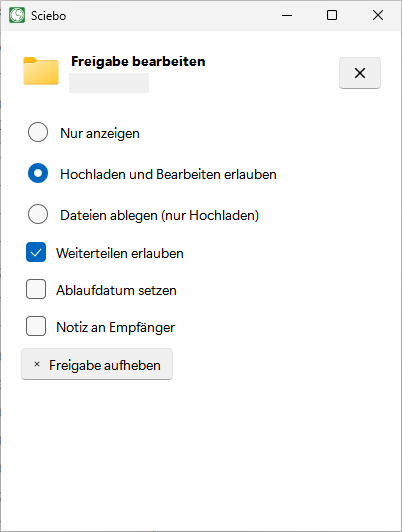
Decide which rights people who access the file or folder via the link will have by clicking on […] near “Share Link”
and setting or removing the corresponding ticks. The following options are available:
View only
Allow upload and editing
File drop (Upload only)
Hide download
Optional: Set a password to protect your data from unauthorised access.
Optional: Set an expiration date to protect your data from unauthorised access.
Optional: Give the link a different name. By default, the new link is called “Public Link”.
The options are saved automatically. As you are done, close the menu.
Click on the copy sign next to the new link to copy it to the clipboard and send it by e-mail, for example.
Close the menu.
You can check at any time whether a file or folder has been shared by link by calling up the share menu again.
There you will find a corresponding list where you can manage and delete associated links.
4 - Synchronisation Settings
Learn how to configure and edit client synchronization.
The sciebo desktop client allows you to synchronise your sciebo directory (to various local folders) on your computer.
You determine which data is synchronised and which is not. This is especially useful if you use your sciebo account on
different computers or for different purposes. For example, employees can synchronise only data for teaching on their
laptop and all data on their desktop PC.
Setting Up Further Folder Synchronisations
If you want to synchronise different subfolders with different destination folders, you can set this up in the client.
Open the client. The tab with your user ID is displayed. (If you have already created an initial folder synchronisation when setting up the client, it will be displayed here).
Click on “Add folder synchronisation”.
Select the destination folder and click “Next”.
Select the sciebo folder you want to synchronise and click on “Next”.
Click on “Add synchronisation”.
The new folder synchronisation is now displayed in the overview and the synchronisation process starts.
Stop Synchronisation of Individual Subfolders
In the client you have the option to exclude individual subfolders that you have synchronised so far from synchronisation and thus remove them from your PC. As these folders remain in sciebo, you can select and synchronise these folders again at any time.
Open the client. The tab with your user ID is displayed.
Click on the small arrow next to the folder synchronisation to show the subfolders.
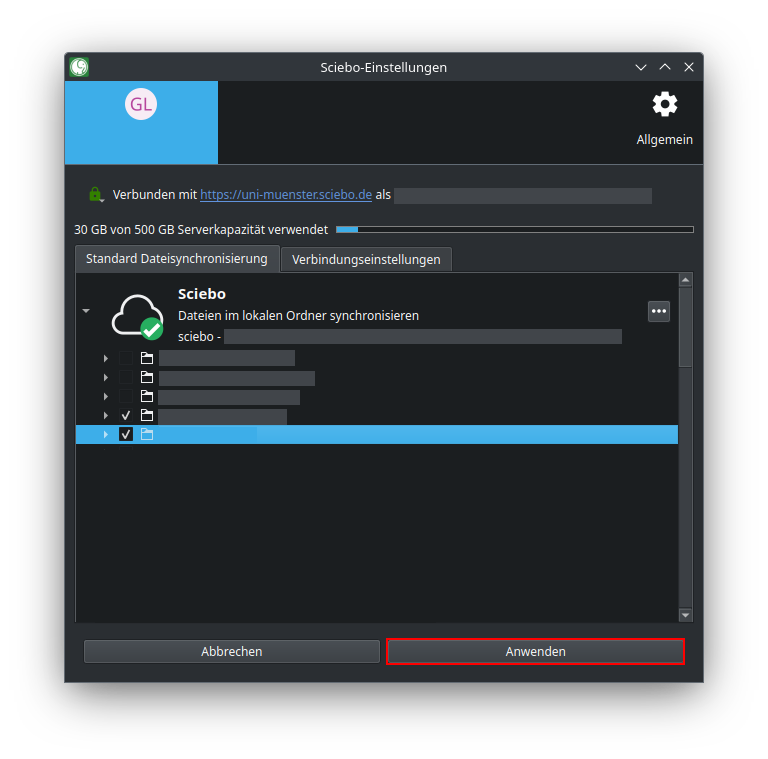
Untick the subfolders that you no longer want to synchronise.
Click on “Apply”.
Synchronising Large Folders
Subfolders that exceed a size of 500 MB are not automatically synchronised. In the client, these folders are highlighted with a red font colour. If you want to synchronise them, you must manually confirm the synchronisation once. (You can adjust the size limit or deactivate this setting in the client settings.)
Open the client. The tab with your user ID is displayed.
Click on the small arrow next to the folder synchronisation to show the subfolders.
Tick the box of the folder concerned.
Click on “Apply manual changes”.
Pausing Synchronisation
You can pause folder synchronisation in the client, e.g. if you do not want your Internet connection to be burdened by the synchronisation of data temporarily.
Open the client. The tab with your user ID is displayed.
Click on the three dots next to the folder synchronisation you want to pause. (If you synchronise your entire sciebo directory with a single destination folder, only one folder synchronisation will be visible).
Click on “Pause synchronisation”.
To continue synchronisation at a later time, you must repeat the same steps, but click on “Continue synchronisation” in the last step.
Removing Synchronisation
In the client, you can remove existing folder synchronisations, e.g. if you no longer need a folder synchronisation or want to restructure the synchronisation.
Open the client. The tab with your user ID is displayed.
Click on the three dots next to the folder synchronisation you want to remove. (If you synchronise your entire sciebo directory with a single destination folder, only one folder synchronisation will be visible).
Click on “Remove folder synchronisation”.
A new window opens in which you must click again on “Remove folder synchronisation”. The folder synchronisation is then deleted.
5 - Client-Status-Icons
Learn the meaning of the desktop client’s icons.
The desktop client uses icons in various locations to indicate the current status. This can be very
helpful when troubleshooting. Therefore, if an icon appears that suggests a problem, you should select
the “Open Sciebo Desktop” option from the context menu in the taskbar to see if any corresponding error
messages are displayed.
The Meaning of the Most Important Icons
Location
Icon
Meaning
settings
everyting is fine
settings
sync in progress
settings
sync paused
settings
error occured
system tray
everything is fine
system tray
sync in progress
system tray
sync paused
system tray
initialisation or error
system tray
error occured
Tip: In Windows, the icon is often hidden from the taskbar. You can adjust this setting
under Personalization => Taskbar => Other taskbar icons.